Week 7: Programming a Line Following Robot with...
Read MoreIn Week 3, students will learn to control a light bulb using the TCRT5000 IR sensor and an Arduino. This lesson will introduce sensor integration, reading sensor data, and using this data to control other components.
- Active participation in discussions and hands-on activities.
- Timely completion of assignments.
- Demonstrated understanding of sensor integration and conditional programming.
- Adherence to safety protocols.
- Respectful collaboration with peers.
- Review of Week 2
- Introduction to the TCRT5000 IR Sensor
- Wiring the IR Sensor and Light Bulb
- Programming the Arduino to Control the Light Bulb
- Practice Session
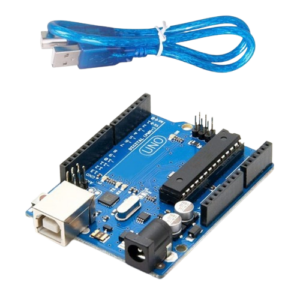
Arduino Board
- Function in Project: Acts as the main microcontroller to run the program and control the LED.
- Other Real-life Uses: Can be used in robotics, home automation, weather stations, and many other DIY electronic projects.
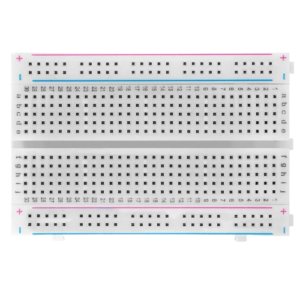
Breadboard
- Function in Project: Provides a platform to build and test circuits without soldering.
- Other Real-life Uses: Useful for prototyping circuits in electronics development and for educational purposes.
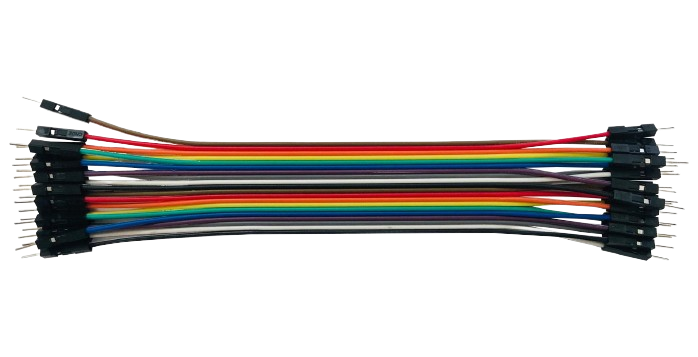
Jumper Wires
- Function in Project: Connect different components on the breadboard and to the Arduino.
- Other Real-life Uses: Used for making temporary connections in testing and prototyping electronic circuits.
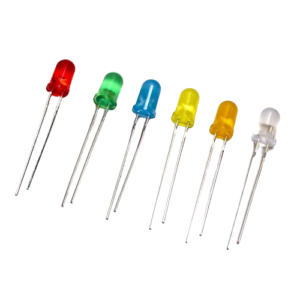
LED Bulbs
- Function in Project: Used to visually demonstrate the output of the Arduino program by lighting up.
- Other Real-life Uses: LEDs are used in various applications, such as indicator lights, displays, lighting, and decorations
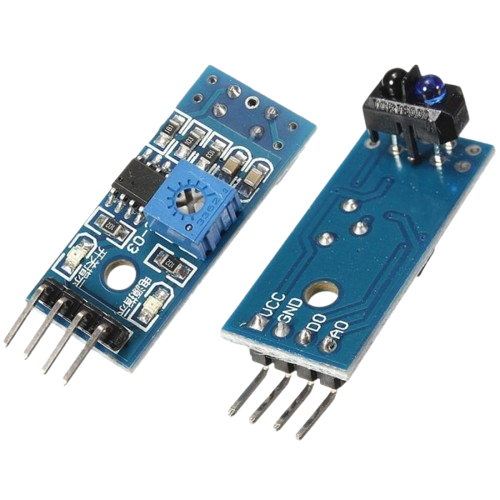
TCRT5000 IR Sensor
- Function in Project: Detects the presence or absence of an object and sends corresponding data to the Arduino.
- Other Real-life Uses: Used in line-following robots, object detection, and other sensor-based applications.

- Computers with Arduino IDE Installed
- Function in Project: Used to write, compile, and upload programs to the Arduino board.
- Other Real-life Uses: Computers with development environments are essential for programming, software development, and interfacing with various hardware devices.
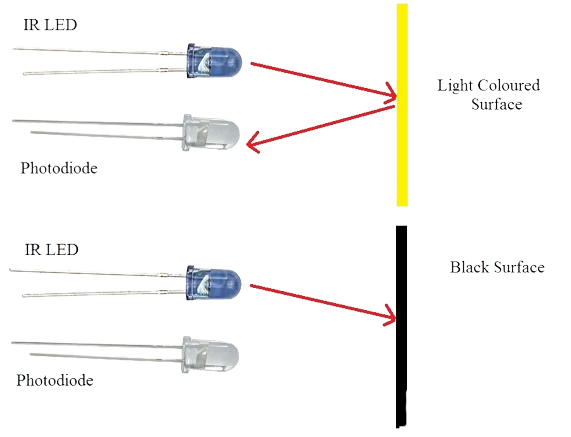
The TCRT5000 IR sensor uses an infrared LED to emit IR light. When an object is nearby, this light reflects back to a phototransistor within the sensor.
The phototransistor detects the reflected light and converts it into an electrical signal. The Arduino or another microcontroller reads this signal to determine if an object is present, typically outputting a LOW signal when an object is detected and a HIGH signal when no object is detected. This allows the sensor to be used in applications like obstacle detection and object counting.

Objective: Connect the IR sensor and light bulb to the Arduino.
Steps:
- IR Sensor Connections:
- Connect the VCC pin to the 5V pin on the Arduino.
- Connect the GND pin to the GND pin on the Arduino.
- Connect the OUT pin to a digital input pin (e.g., digital pin 2) on the Arduino.
- Light Bulb Connections:
- Connect one terminal of the light bulb to a digital output pin (e.g., digital pin 13) on the Arduino.
- Connect the other terminal to GND on the Arduino.
- IR Sensor Connections:
Objective: Write an Arduino program to control the light bulb based on IR sensor data.
int sensorPin = 2; // IR sensor connected to digital pin 2
int lightBulbPin = 13; // Light bulb connected to digital pin 13
int sensorValue = 0;

void setup() {
  pinMode(sensorPin, INPUT);
  pinMode(lightBulbPin, OUTPUT);
  Serial.begin(9600);
}

void loop() {
  sensorValue = digitalRead(sensorPin);
  Serial.println(sensorValue);

  if (sensorValue == HIGH) { // Adjust based on sensor reading
    digitalWrite(lightBulbPin, HIGH); // Turn on the light bulb
  } else {
    digitalWrite(lightBulbPin, LOW); // Turn off the light bulb
  }

  delay(100); // Small delay for stability
}
Upload the code to the Arduino, observe the light bulb’s behavior, and adjust the sensor placement as needed..