Week 5: Programming Robot Sequences with Blinking LEDs...
Read MoreIn Week 4, students will learn how to control a DC motor using the L298N motor driver. They will program the motor to drive forward using a specific code. This week focuses on understanding motor drivers and implementing basic motor control.
- Active participation in discussions and hands-on activities.
- Timely completion of assignments.
- Demonstrated understanding of motor control using Arduino and L298N motor driver.
- Adherence to safety protocols.
- Respectful collaboration with peers.
- Introduction to L298N Motor Driver
- Connecting the Motor Driver and Motor
- Programming the Motor to Drive Forward
- Practice Session
- Questions
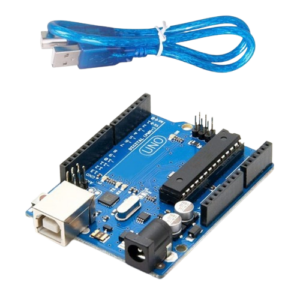
Arduino Board
- Function in Project: Acts as the main microcontroller to run the program and control the LED.
- Other Real-life Uses: Can be used in robotics, home automation, weather stations, and many other DIY electronic projects.
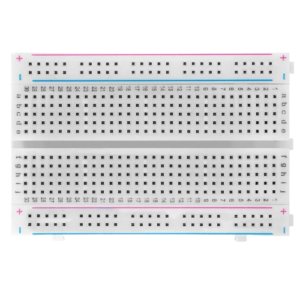
Breadboard
- Function in Project: Provides a platform to build and test circuits without soldering.
- Other Real-life Uses: Useful for prototyping circuits in electronics development and for educational purposes.
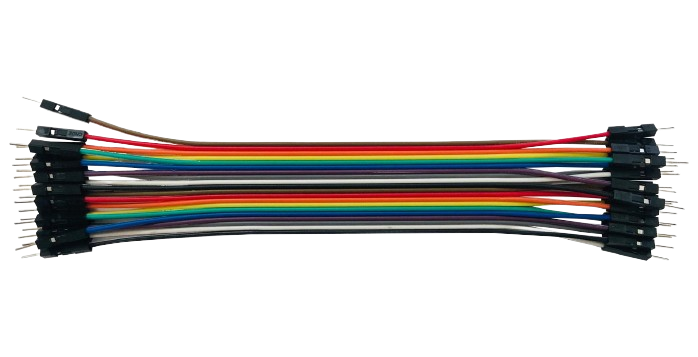
Jumper Wires
- Function in Project: Connect different components on the breadboard and to the Arduino.
- Other Real-life Uses: Used for making temporary connections in testing and prototyping electronic circuits.
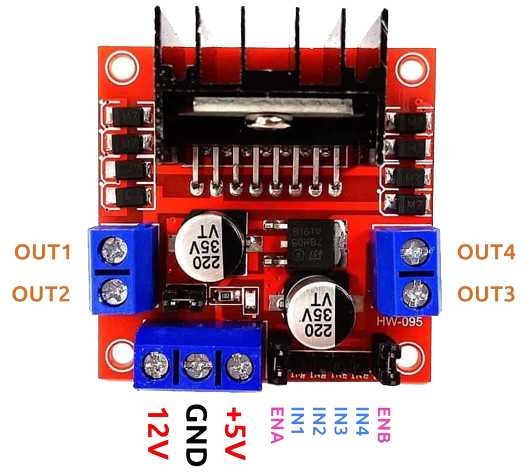
L298N Motor Driver
- Function in Project: Controls the speed and direction of the motor.
- Other Real-life Uses: Used in various robotics and motor control applications to drive DC and stepper motors.
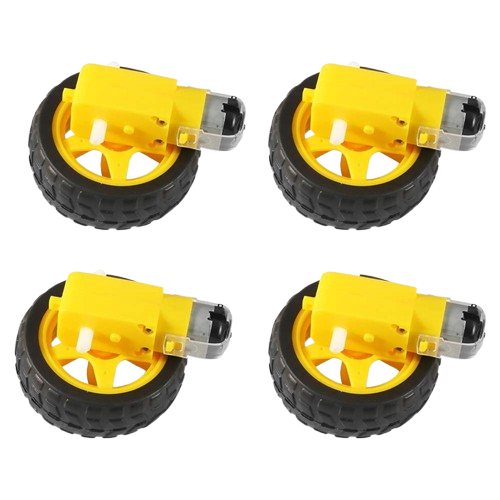
Gear Motors
- Function in Project: Converts electrical energy into mechanical movement to drive the robot forward.
- Other Real-life Uses: Used in fans, toys, and various mechanical devices requiring rotary motion.
- Power Pins: Connect to the power source.
- Input Pins (In1, In2, In3, In4): Control the direction of the motors.
- Enable Pins (EnA, EnB): Control the speed of the motors.
- Output Pins: Connect to the motor terminals.
More details on Ln28N:
The L298N is a dual H-bridge motor driver IC used to control the direction and speed of DC motors and stepper motors. Key components include:
- Input Pins (In1, In2, In3, In4): Control motor direction.
- Enable Pins (EnA, EnB): Control motor speed by PWM signals.
- Output Pins: Connect to motor terminals.
- Power Pins: Supply voltage to the motor driver and motors.
It is widely used in robotics and automation projects for driving motors, allowing precise control of movement and speed.
RoboticCar library:
The RoboticCar built by eduSTEMlab library simplifies controlling L298N motor drivers by providing straightforward commands for motor movements. It abstracts complex H-bridge operations, allowing easy functions like forward(), backward(), and reverse().
Custom libraries can be built for Arduino projects to encapsulate specific functionalities, making code more modular and reusable. This approach streamlines development and enhances code clarity
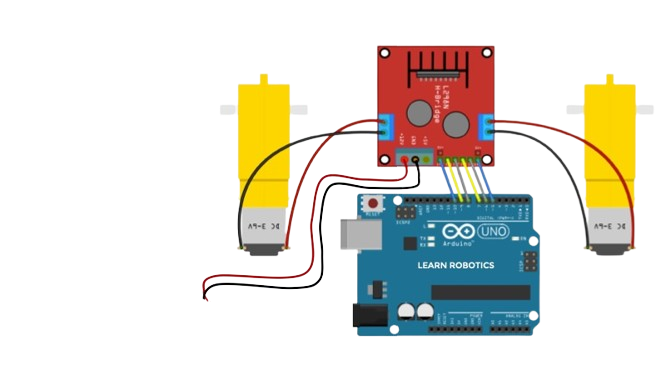
Connect the L298N motor driver to the Arduino and the DC motor.
Steps:
- Connect EnA to pin 3 on the Arduino.
- Connect In1 to pin 4 on the Arduino.
- Connect In2 to pin 5 on the Arduino.
- Connect In3 to pin 6 on the Arduino.
- Connect In4 to pin 7 on the Arduino.
- Connect EnB to pin 8 on the Arduino.
- Connect the motor terminals to the output pins of the L298N motor driver.
- Connect the power supply to the motor driver and the Arduino.
Write and upload code to control the motor using the L298N motor driver.
#include <roboticcar.h> int EnA = 3; int In1 = 4; int In2 = 5; int In3 = 6; int In4 = 7; int EnB = 8;RoboticCar myrobot(In1, In2, In3, In4, EnA, EnB ); void setup() { // Initialize the motor driver } void loop() { // Drive the motor forward myrobot.forward(200); }
Activity:
- Experiment with modifying the speed and direction of the motor.
Steps:
- Adjust the speed value in myrobot.forward(255);.
- Modify the code to change the motor direction using myrobot.backward(speed); and myrobot.stop();